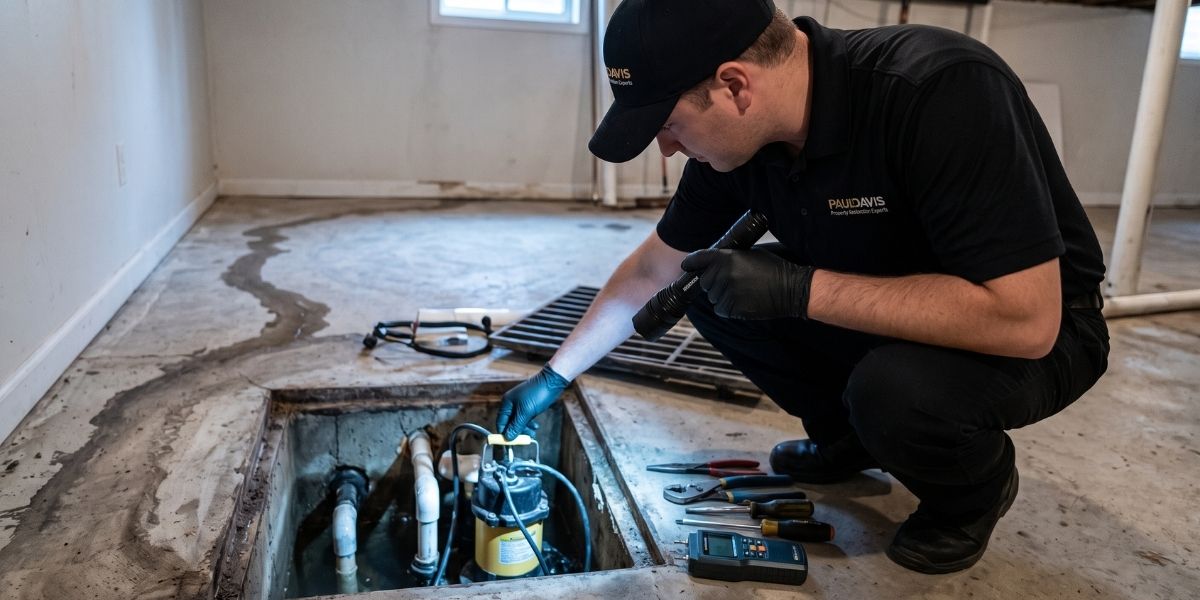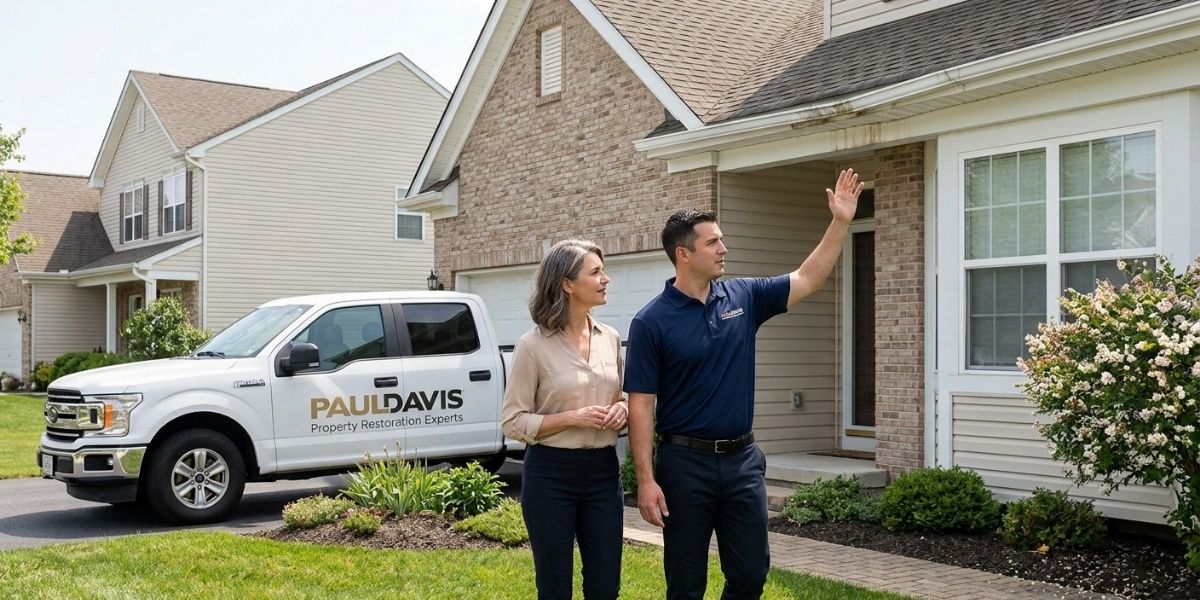

Home restoration costs can feel like a moving target when you’re staring at water-soaked floors, smoke-stained walls, or a musty room that suddenly won’t dry out. Add insurance paperwork and claim deadlines, and the to-do list can get overwhelming fast. To help simplify the process, we sat down with Tayla Quezada from Paul Davis Restoration of Mid-Central New Jersey to talk through what homeowners should expect and what steps to take first.
Below are Tayla’s most helpful insights—translated into clear, homeowner-friendly guidance you can use right away.
Tip 1: Home restoration costs—what drives the total price?
One of the first (and most stressful) questions homeowners ask is: “How much is this going to cost?” According to Tayla, pricing can vary widely because every loss is different.
Here are the biggest factors that influence home restoration costs:
-
Type of restoration needed: The scope may include emergency services, water extraction, contents handling, mold remediation, demolition, and reconstruction—each affecting the overall price.
-
Size of the affected area: A small, isolated issue is very different from a whole-floor loss or multiple rooms.
-
How long the project will take: Longer drying timelines or rebuild phases often require more labor and more days of equipment time.
-
Equipment and materials required: The amount and type of equipment needed (and how long it must run) can impact cost, especially when conditions require additional drying support.
-
Number of people involved: Larger or more complex projects may require multiple technicians and trades.
Two practical budget tips Tayla recommends:
-
Ask for a clear scope overview before work begins so you understand what’s included (and what isn’t).
-
Expect the scope to evolve if hidden damage is uncovered, since moisture and contamination can travel behind walls or under floors.
Tayla also emphasized that at Paul Davis, the goal is to give homeowners a realistic range upfront—so you have an idea of what the project could cost depending on the final scope and conditions onsite. Those details are discussed before work begins, so you’re not left guessing.
A quick note on scopes, estimates, and change orders
A written scope of work and a line-item estimate are your best tools for understanding home restoration costs before the project is underway. Ask how the work will be documented day-to-day, and what happens if new damage is discovered after materials are opened. The goal isn’t to “lock” a price at all costs—it’s to make sure any changes are explained clearly, documented with photos, and approved through the right process so the project stays transparent.
Tip 2: Will insurance cover home restoration costs?
The short answer: sometimes—depending on your policy.
Tayla explains that whether restoration is covered comes down to how your insurance policy is written. Because restoration companies aren’t allowed to interpret your policy, the best next step is to contact your insurance provider directly and ask what coverage applies to your situation.
When you call, keep the conversation focused on claim handling and home restoration costs:
-
What is the deductible?
-
What documentation do you want, and where should it be submitted?
-
What happens next after you file—adjuster visit, approvals, or vendor assignment?
What Paul Davis can do is help guide you through the process by encouraging the right next step:
-
Call your insurance carrier
-
Ask what is covered
-
Confirm what documentation they need
-
Understand how the claim will move forward
And if insurance isn’t part of your plan (or your policy doesn’t cover the loss), Tayla notes that Paul Davis Restoration of Mid-Central New Jersey works with homeowners through multiple paths, including:
-
Insurance-funded projects
-
Self-pay projects
-
Financing options
That flexibility can be especially helpful when you need to act quickly.
Tip 3: How to file an insurance claim for home restoration
If you’re dealing with damage at home, filing an insurance claim can feel intimidating—but Tayla breaks it into a clear, manageable process.
A strong claim often starts with documentation. Tayla recommends taking lots of pictures, including wide shots that show the entire room. One simple tip: stand in the corner and try to capture the whole space.
Think of it this way: your photos and videos are telling the story of what happened before anyone from the insurance company sees it in person.
Once you’ve documented everything:
-
Contact your insurance company and explain what happened (for example: “I found water in my basement.”).
-
Let them know you have photos and videos ready.
-
Many carriers will send a link or portal where you can upload your documentation.
-
Depending on the carrier, they may then assign or dispatch the claim to a preferred vendor.
Quick claim organization tips:
-
Record the date you discovered the damage and the steps you took immediately.
-
Keep claim numbers, contact names, and a short call summary in one place.
-
Save copies of anything you submit.
Staying organized helps the process move faster and can help limit home restoration costs caused by avoidable delays.
Tip 4: How should homeowners document damage for insurance and restoration?
If there’s one theme Tayla returned to again and again, it’s this:
Document early. Document often.
As soon as you discover damage—whether it’s a leaking water heater, a fridge line leaking onto kitchen floors, or storm damage from a roof opening—start collecting:
-
Photos (lots of them)
-
Videos
-
Wide shots of each affected room
-
Close-ups of the damage
-
Receipts and records (for example, if you need a plumber, electrician, or other emergency service)
Why does this matter so much? Tayla points out that pictures and videos help insurance adjusters understand what happened before they’re onsite. Your documentation becomes the “boots-on-the-ground” view that supports your claim.
A simple documentation system that works:
-
Keep photos/videos in one folder, saved in date order.
-
Create a room-by-room list of damaged items.
-
Save every receipt related to the loss—even small purchases can add up.
Keeping a complete record also helps ensure the insurance company has the details—even when they weren’t there when the damage first occurred. It also creates a clean paper trail if home restoration costs are questioned later in the claim.
Tip 5: What to do in the first 24 hours to control home restoration costs
Fast action can reduce secondary damage and prevent home restoration costs from climbing. Here are practical steps homeowners can take right away, while keeping safety first:
-
Make sure the space is safe. If water is near outlets or electrical panels, avoid the area and shut off power if it can be done safely.
-
Stop the source if possible. Shut off the water supply for a plumbing leak, or place a temporary cover if there’s an active roof opening—only if it can be done safely.
-
Separate wet and dry items. Move unaffected belongings away from the damaged area to limit spread and make documentation clearer.
-
Start a loss log. Write down dates, times, phone calls, and what actions you took.
If you’re unsure what to do next, focus on safety, document what you see, and get professional guidance before the damage spreads.
Tip 6: Common issues that increase home restoration costs and slow claims
Many claim slowdowns aren’t caused by the severity of the loss—they’re caused by missing information. Tayla sees a few patterns that can increase home restoration costs and make claims harder to move:
-
Not enough photos of “before and after.” Wide shots plus close-ups help tell the full story.
-
Throwing away damaged materials too early. If something must be removed for safety, photograph it thoroughly first and note why it was removed.
-
Gaps in receipts. If you pay for emergency help or temporary supplies, keep the invoice and proof of payment.
-
Unclear communication. Track claim numbers, adjuster info, and what was requested so nothing falls through the cracks.
Tip 7: Questions to ask before restoration work begins
The clearest projects usually start with clear expectations. Before work begins, Tayla recommends homeowners ask questions that tie scope, timeline, and documentation together:
-
What work is being done first, and why?
-
What are the next milestones (drying complete, demo complete, rebuild start)?
-
How will changes to the scope be communicated and documented?
-
What information will be shared with the insurance company, and when?
-
What should you do (or avoid doing) during the project to prevent setbacks?
These questions don’t just create peace of mind—they can help control home restoration costs by preventing misunderstandings and unnecessary rework.
Final takeaway: Prepare now, stress less later
Home restoration can be overwhelming, but a few smart steps can make a big difference:
-
Understand that home restoration costs vary by scope, size, timeline, equipment, and labor
-
Confirm insurance coverage directly with your carrier
-
File your claim with strong documentation
-
Save receipts and keep a clean record of everything you do
If you need help navigating the next steps—whether you’re working with insurance, paying out of pocket, or exploring financing options—Paul Davis Restoration of Mid-Central New Jersey can help you move forward with clarity and confidence.